Photography Tips for Property Owners: Capturing Stunning Photos & Videos
When creating a successful website for your residential property—whether it’s a campground, cabin, RV spot, bed and breakfast, or hotel—having high-quality imagery is critical. Your photos and videos will help showcase the beauty of your property, attract potential guests, and communicate the experience you offer.
But what if you're not a professional photographer or videographer? Don’t worry! This guide will provide you with beginner-friendly tips, lighting advice, and editing guidance to help make your property shine.
How to Get Started:
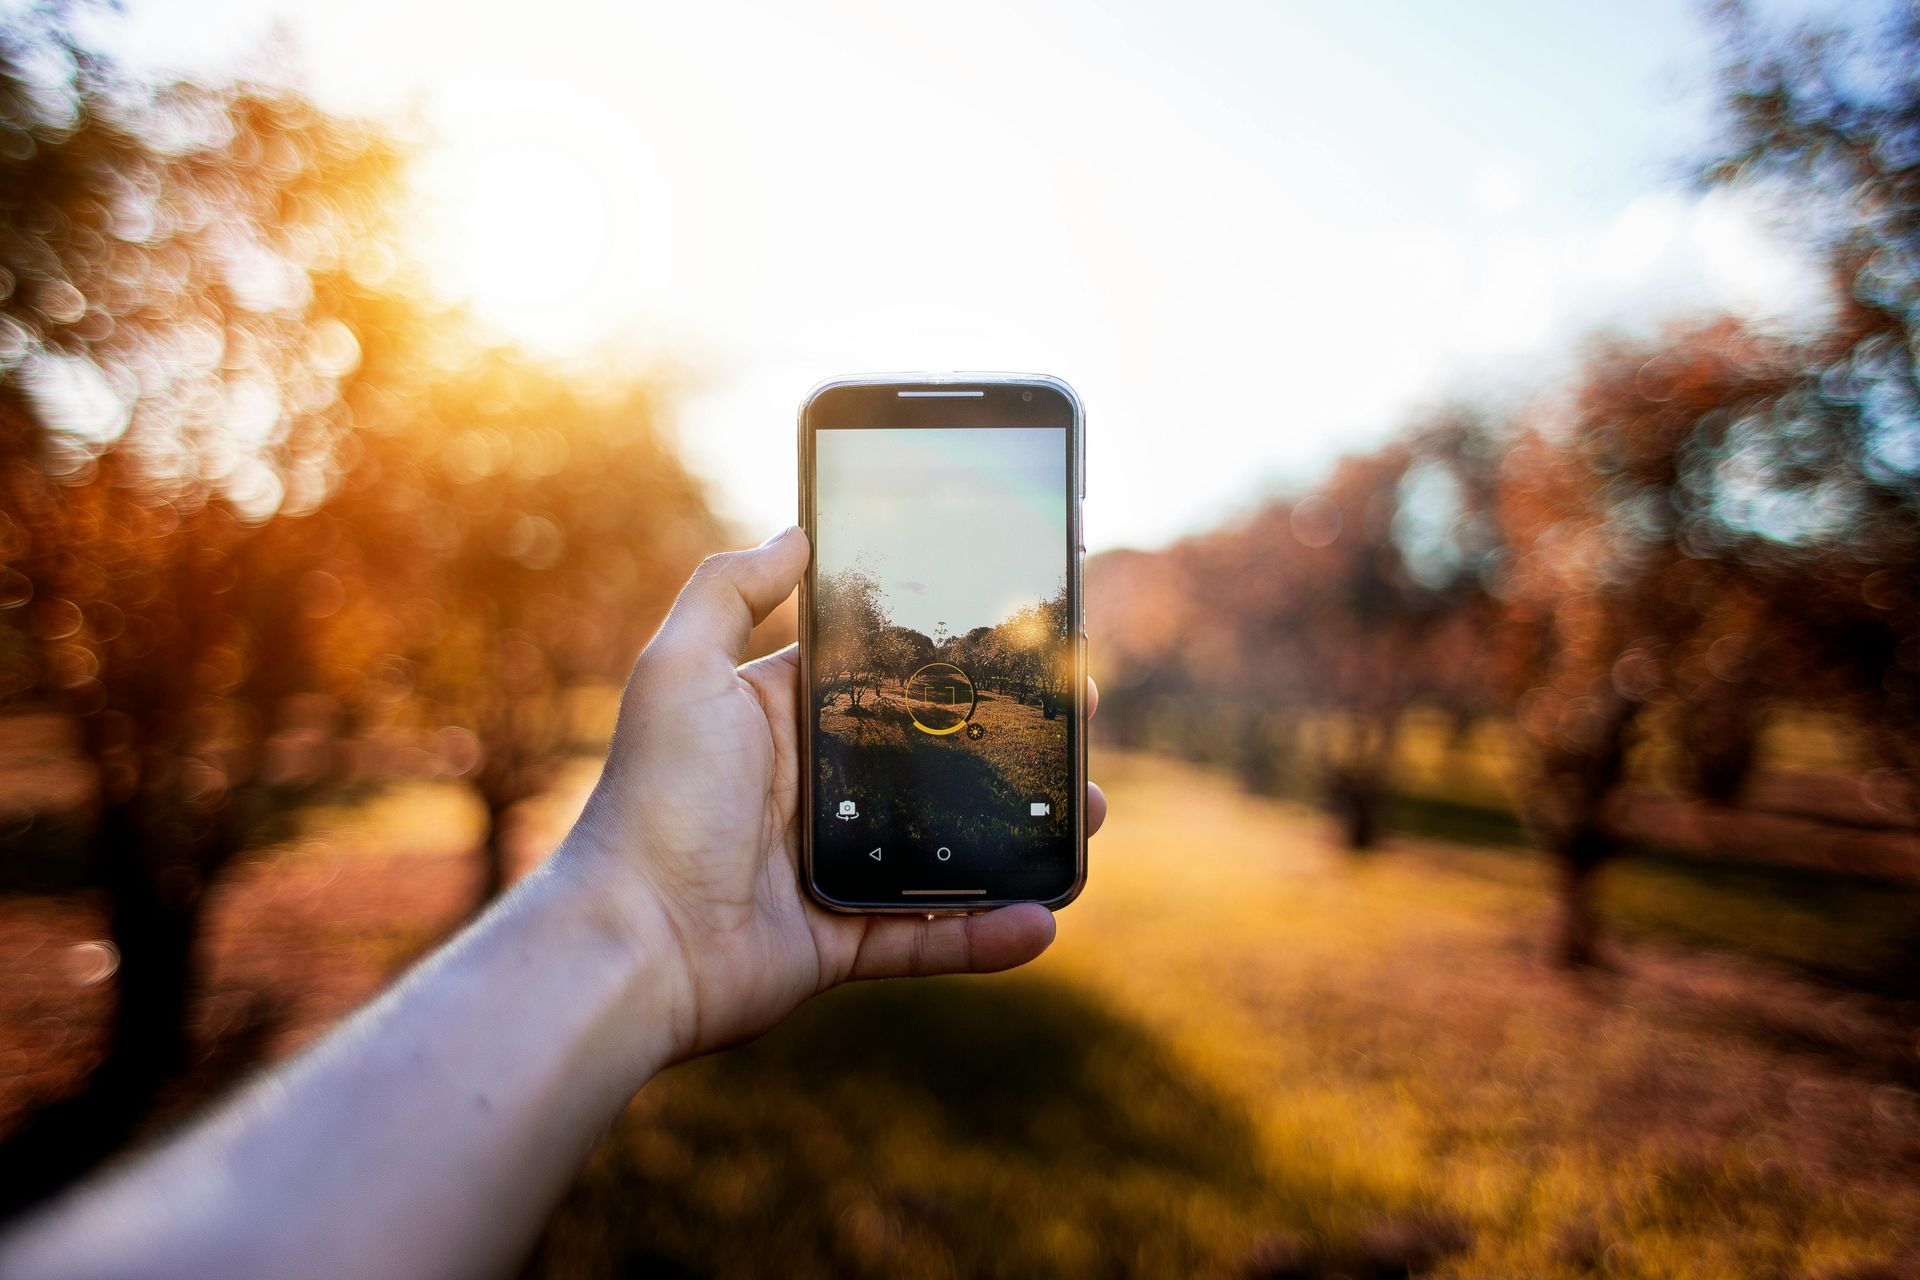
Every property owner knows how important photos and videos are for potential bookings. If you’re not a professional photographer, but need some nice photos/videos of your property-you’re in the right spot!
Don’t let your inexperience keep you from taking out your phone and testing your hand!
Many people think they need the most expensive camera, top-of-the-line equipment, and the best editing software to capture something decent.
With some best practices and a decent camera on your phone, you can take some stunning images/videos that will bring people from their computers to your property.
Here are some essential tips to help you get started:
- Clean Up the Space: Before snapping photos, ensure the area is clean and clutter-free. Make beds, fold towels, remove any personal items, and tidy up outdoor spaces.
This is where your talents as a property manager or owner come in handy; you know what will make your space look good, so do that! A neat, organized space will make your property look more inviting. - Find the Best Angles: Each property has unique features, so walk around to find the most flattering angles.
Here are some examples to help get started, you might like:
• A full view of a cozy cabin
• A wide shot of a scenic campground
• Shooting from slightly above or below can also add depth to your photos (maybe find a ladder)
• Capturing the corners of a building or room can take the photo from flat to dynamic and
interesting. - Use the Rule of Thirds: This classic photography technique helps balance your composition. Imagine your frame is divided into nine equal squares by two horizontal and two vertical lines. Try placing key elements (like a bed, campfire, or building) along these lines or at their intersections to create more engaging visuals.
- Focus on Details: While wide shots of your property are important, don’t forget the details! Capture close-up shots of special features like unique decor, signage, amenities, or natural elements that set your property apart.
These small details help tell the story of your space, and we can use them for articles or other content on your website.
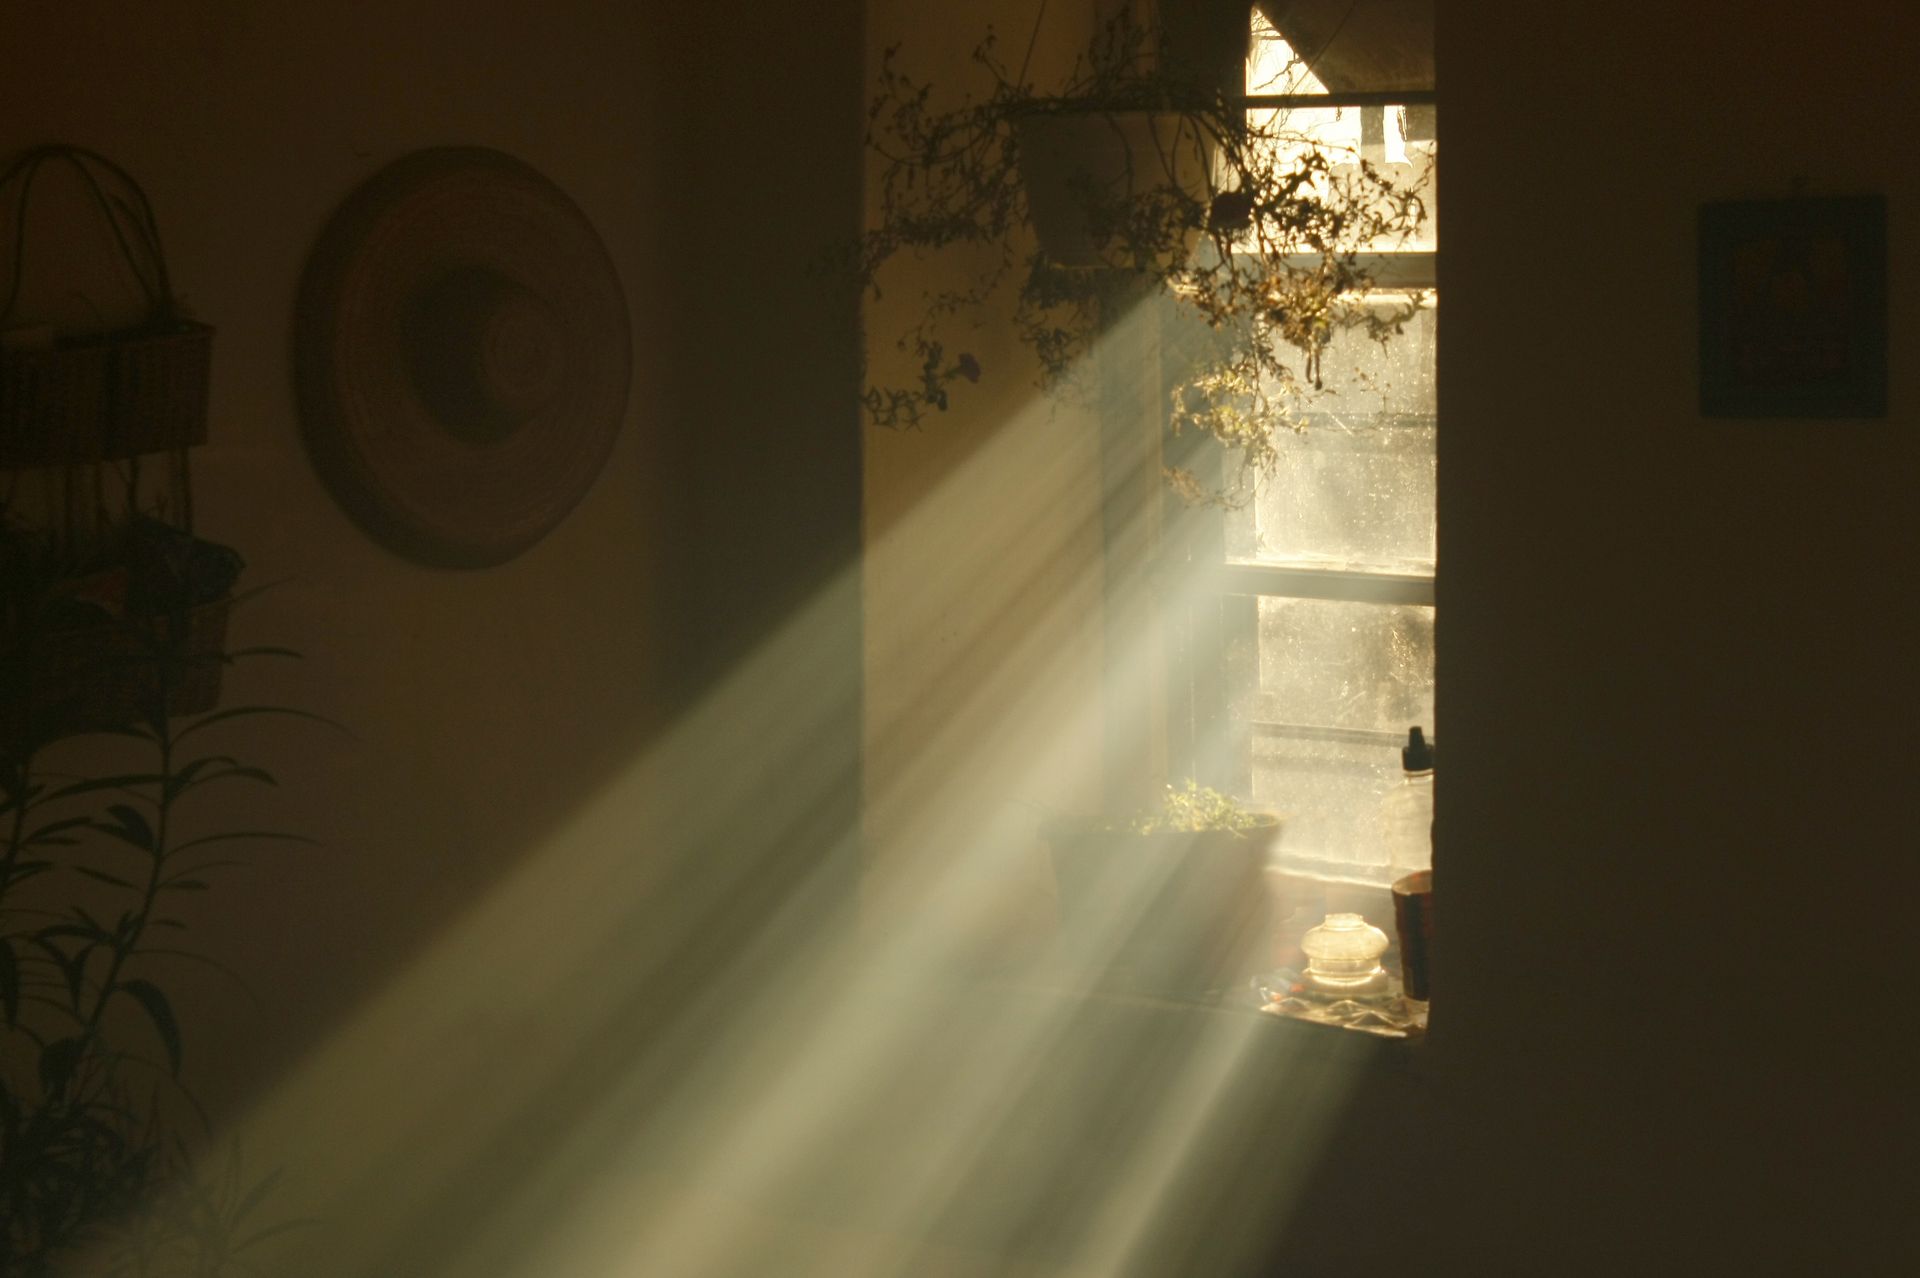
Photo Lighting Guide for Beginners
Lighting is one of the most important things you can do to improve your shots. It’s frustrating to spend a long time shooting just to realize the lighting is either too bright or too dark.
Here’s how to ensure your lighting works for you, not against you.
Take Advantage of Natural Light
Natural light is your best friend, especially when taking photos outdoors or in rooms with big windows. Try to take pictures during the “golden hours”—within one hour after sunrise or before sunset—when the light is softer and creates a warm, inviting glow.
You might be surprised just how much life natural light will give your photos and you won’t need any artificial lights.
Avoid the Harsh Midday Sun
If you're shooting outside, avoid the harsh midday sun, which can cause unflattering shadows. If you must shoot in bright light, try to find some shade or use a reflector (even a white sheet of paper can work) to soften the light.
Use Indoor Lighting Wisely
When taking photos indoors, turn on all the lights to brighten the space. Avoid using your camera’s flash, as it can create harsh lighting and unappealing shadows. If possible, use natural light from windows to add warmth to the image.
Mind Your Shadows
Pay attention to shadows, especially indoors. Make sure the light isn’t creating deep shadows on furniture or walls. Experiment with different lighting sources, such as lamps or overhead lights, to create a more balanced look.
How to Edit on iPhone/Android Like a Professional
Once you’ve taken your photos, you’ll likely want to do a little editing to make them look their best. If you’re using an iPhone or Android, you already have a powerful editing tool right in your hands! Here’s how to edit your photos quickly and easily:
- Open the Editing Tools: This will open up various tools for adjusting your image.
For iPhone: After taking a photo, open the Photos app, select the image you want to edit, and tap the three sliding knobs towards the bottom right of the screen.
For Android: Open the Gallery App, click recent, select the Image you just took, then top on the pencil icon towards the bottom left of the screen. - Trim Videos: If your video is too long or includes unwanted footage, use the trimming tool to cut it down. Keep only the best parts to make the video more engaging.
- Adjust Brightness and Contrast: To brighten up a dark image or add some depth, start by adjusting the brightness and contrast. A little brightness can make a big difference, while contrast helps bring out the details.
- Enhance Colors with Saturation: If your image feels dull, increase the saturation slightly to make the colors pop. Be careful not to overdo it—too much saturation can make the photo look unnatural.
- Straighten and Crop: Make sure your photo is level by using the straighten tool, and crop out any unnecessary areas to focus on the main subject. Cropping also helps remove distractions from the edges of the frame.
- Use Filters Sparingly: While iPhones especially offer a variety of filters, it’s best to use them sparingly. Opt for subtle filters that enhance the natural beauty of the photo without overwhelming it.
Editing Software for Beginners
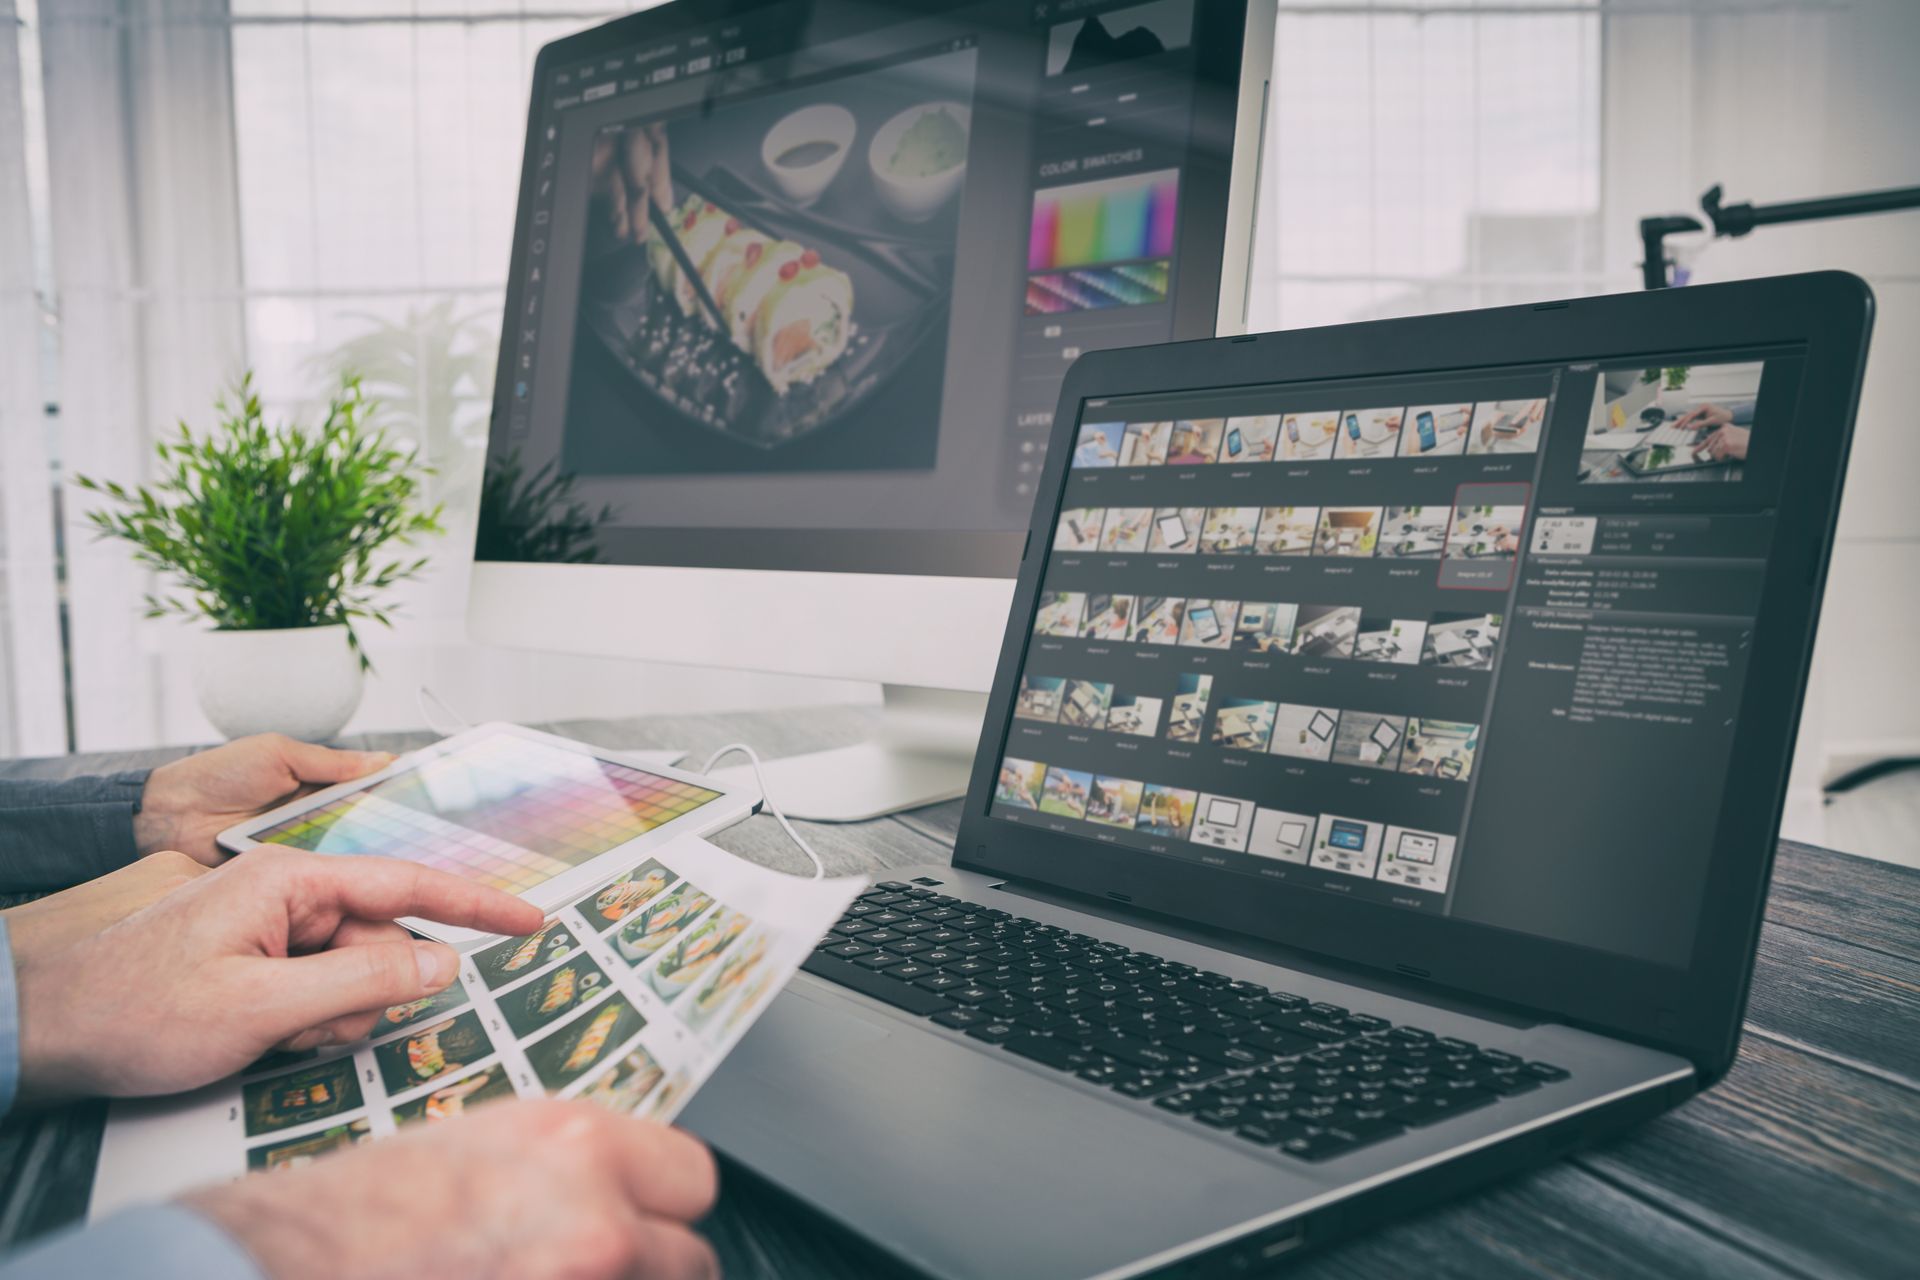
If you want more advanced editing options, plenty of beginner-friendly editing tools are available. Here are a few popular choices:
Canva
Canva is an intuitive and easy-to-use design tool that offers basic photo/video editing features. You can adjust brightness, contrast, and saturation, apply filters, and add text or graphics to your images. They also have many other features that can help any business owner with design.
Adobe Lightroom
Adobe Lightroom is easy to use, with simple sliders for adjusting light, color, and details. You can even save presets to quickly edit multiple photos with the same settings. While it is mainly known for photo editing, you can do a lot of video editing as well. This software isn't free, but it is still one of the more budget-friendly options.
Snapseed
Available for both iPhone and Android, Snapseed is a powerful, free photo editing app that offers advanced tools like healing brushes, selective adjustments, and HDR effects.
InShot
InShot is a user-friendly app for editing videos. It lets you trim, add music, and apply effects to your clips, making it an excellent choice for quick and professional video editing on a smartphone.
Best Practices for Taking Property Photos & Videos
To ensure your property photos turn out as professional as possible, follow these additional tips:
Showcase Every Area
Plan ahead and make a checklist of the shots you want to take. Make sure to take photos of every important area of your property—bedrooms, bathrooms, living spaces, parking, common spaces, and outdoor areas. Include any unique amenities, like a fire pit, hiking trail, or pool, to give guests a complete view of what you offer.
Shoot Horizontally and Vertically
We encourage you to shoot your photos and videos in both a horizontal and vertical orientation to cover your bases. If you want to use some of your photos/videos on social media, you’ll want to follow the orientation they use. For example, TikTok mainly uses vertical videos, while Youtube uses both horizontal and vertical orientations depending on the type of content.
At ResNexus, when we design your website, we can use whatever orientation of video and photo you have. However, we always recommend getting a variety of different shots with multiple orientations, so you have something for every platform.
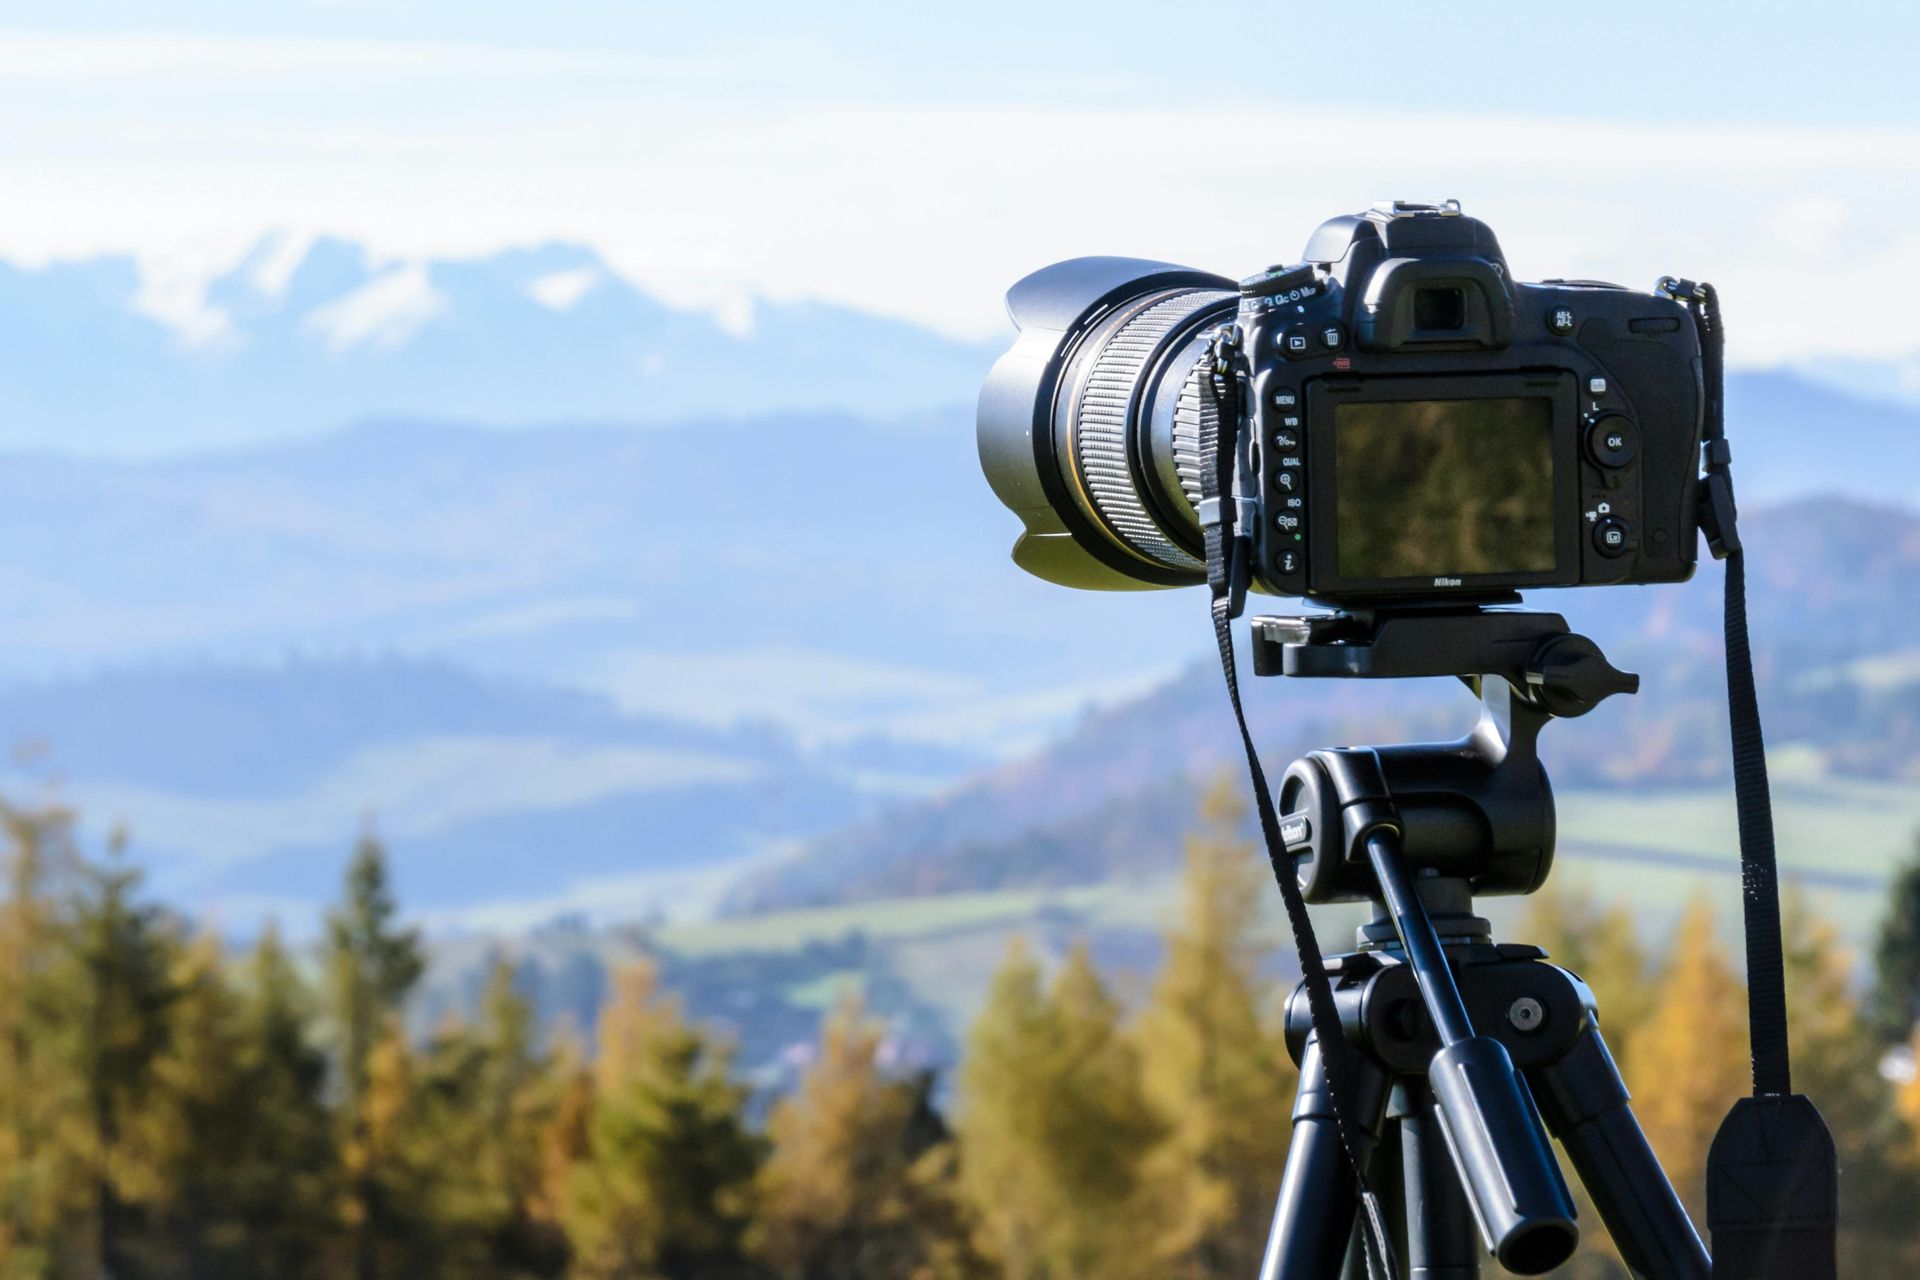
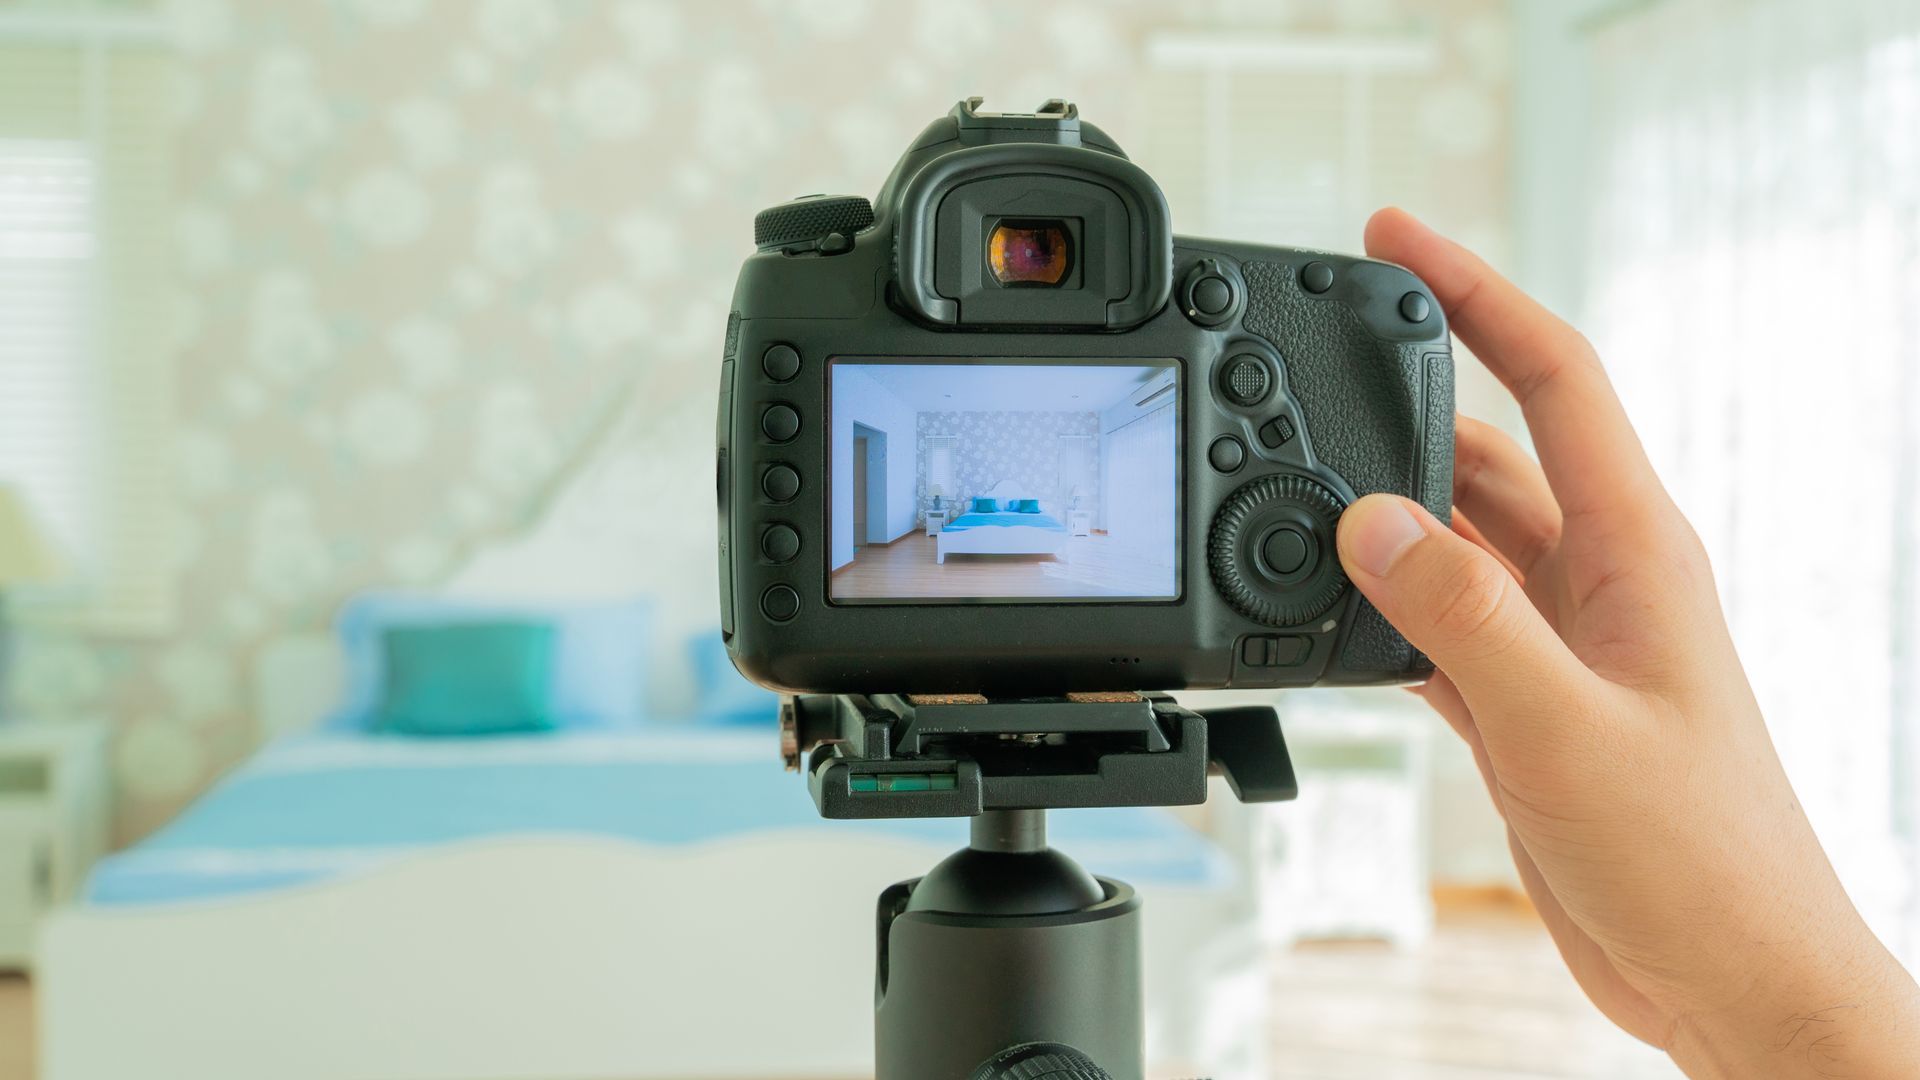
Use a Tripod
When we click a shutter button or click one on our phone's screen, we often naturally move our cameras along with it. Some phones can adjust for this, but often, it can create a blurry, unfocused picture.
For steady, sharp images, especially in low-light situations, consider using a tripod. Even a tiny, inexpensive tripod can make a big difference in the quality of your photos.
Take Multiple Shots and Clips
Don’t be afraid to take lots of photos and videos! Phones have a lot of storage these days, and you can even delete the ones you don't like later on. Experiment with different angles, lighting, and compositions. The more options you have, the easier it will be to select the best images later on.
Resize Your Images
Sometimes, when you try to apply an image or video to a platform, they might not accept it because the file is the wrong size or dimension. You can use an image resizer tool from many platforms like Canva and Adobe Express to get your photo to fit.
Keep in mind that doing this can sometimes affect the image quality. It is always best to shoot the original shot in the correct orientation. If you need additional help, the ResNexus team can take the raw file and help you size it for your website.
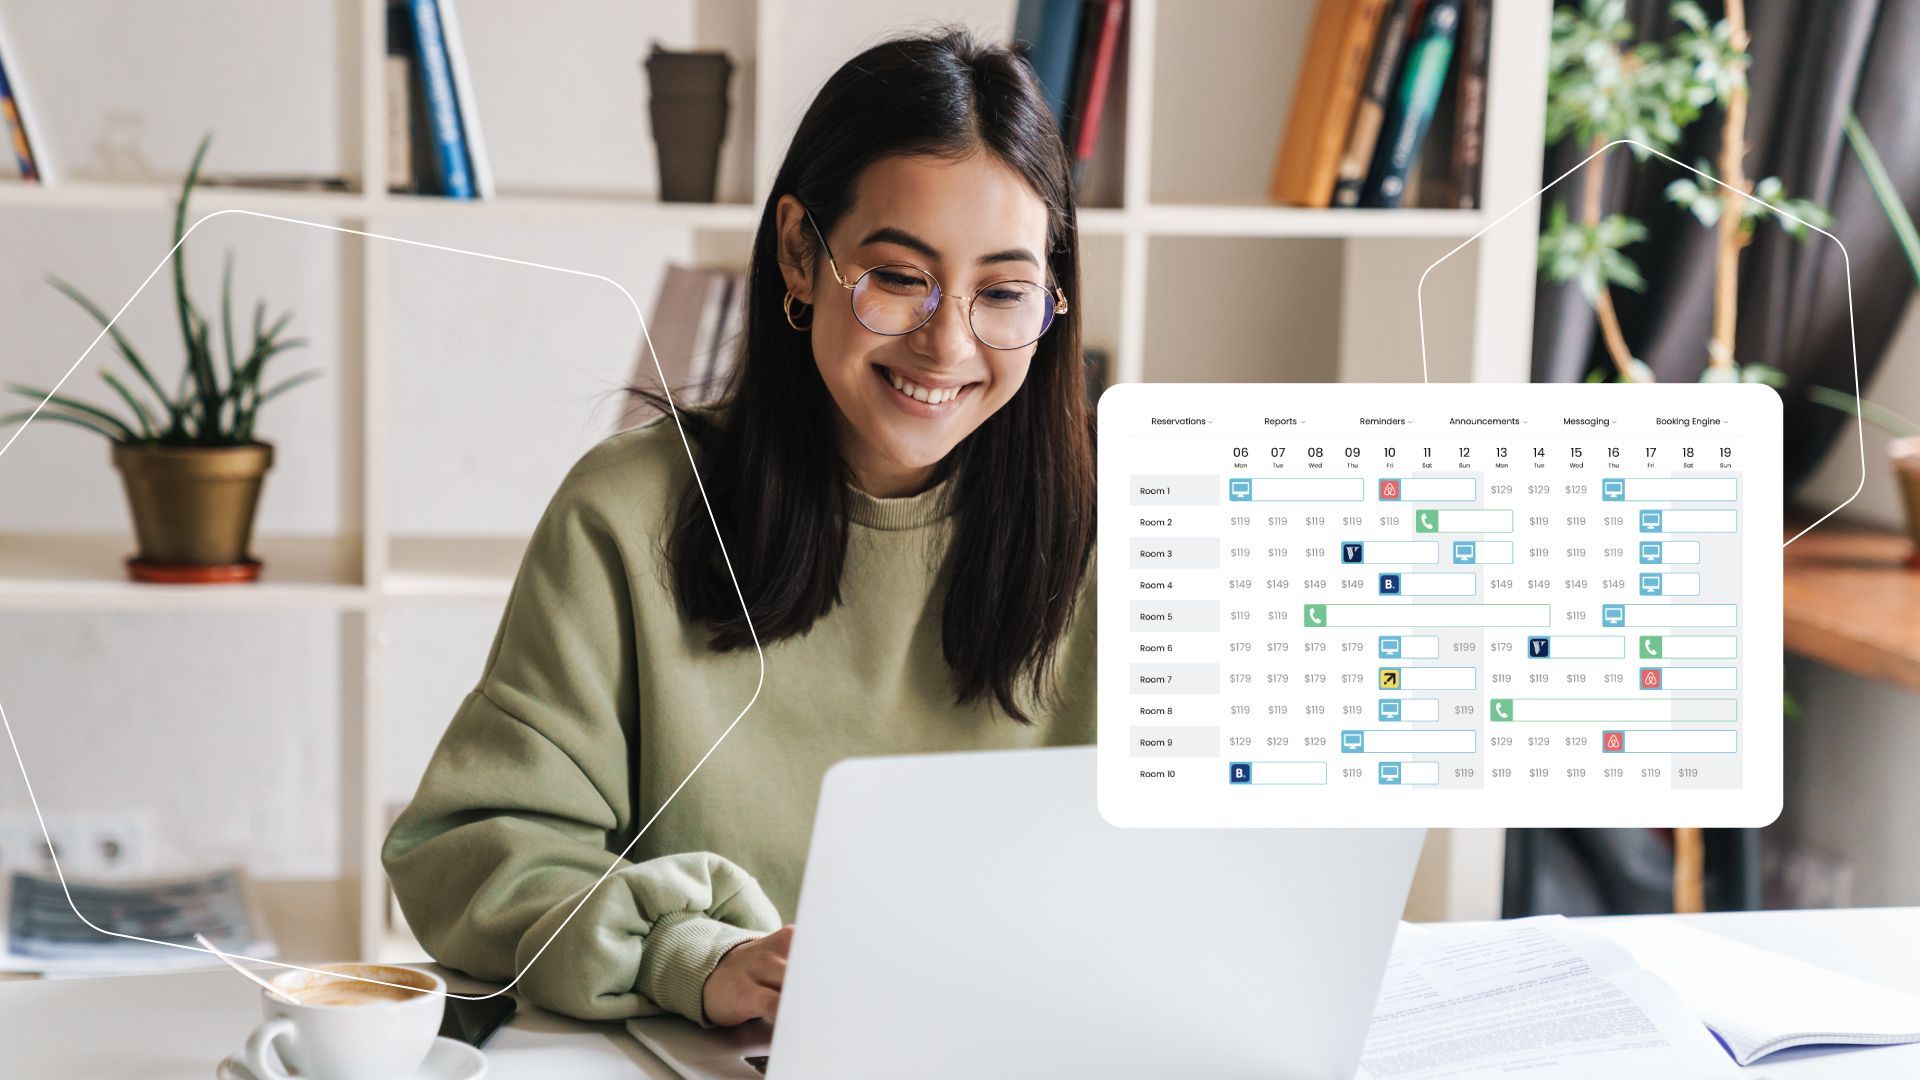
Lights, Camera, ResNexus! Turn Your Content Into Conversions
By following these simple photography tips, you’ll be well on your way to capturing stunning images that showcase the beauty of your property. You’ve taken some great shots and clips; now it's time to put them to good use!
At ResNexus, we’re here to help you make the most of your online presence and grow your business. Whether you need reservation and booking software, a website redesign, or targeted digital marketing strategies, we’ve got you covered. Ready to reach new heights and transform your business? Property Management Software | ResNexus
Contact ResNexus today, and let’s build something beautiful together!
Recent Posts

Ready to get started?
See how ResNexus saves time, boosts bookings, and simplifies operations.


